ASA first layer: bed, surface and adhesive
Quick answer
ASA sticks best to smooth pei or glass at a bed temperature of about 100 C. Use glue stick.
Bed temperatures and surface preparation are conventions drawn from manufacturer guidance. Your build plate maker knows your plate better than any general table.
| Setting | Value |
|---|---|
| Bed temperature, first layer | 100 C |
| Bed temperature, later layers | 95 to 110 C |
| Nozzle temperature | 240 to 260 C |
| Surface | Smooth PEI or glass |
| Adhesive | Glue stick |
| Enclosure | Required |
| Warping tendency | high |
What a correct first layer looks like
The lines should be slightly wider than they are on later layers and just touching each other, giving a continuous surface with no gaps and a faintly matte finish. Distinct round strands with gaps between them mean the nozzle is too high. A glossy surface with ridges pushed up between the lines means it is too low.
As ABS. Draughts are the usual cause of a failed first layer.
ASA specifics
ABS with real UV resistance. The usual choice for parts that live outdoors.
Because ASA needs a warm chamber, a first layer failure here is often not a first layer problem at all. A draught across the bed, or a cold room, will lift the corners of a part whose first layer went down perfectly. Fix the environment before adjusting the offset.
Build surfaces and adhesion
- Geeetech
Geeetech 6-Pack 3D Printer Glue Sticks, 36g, Enhanced First Layer Adhesion
$11.99 Check pricePrices change often - HENYCEE
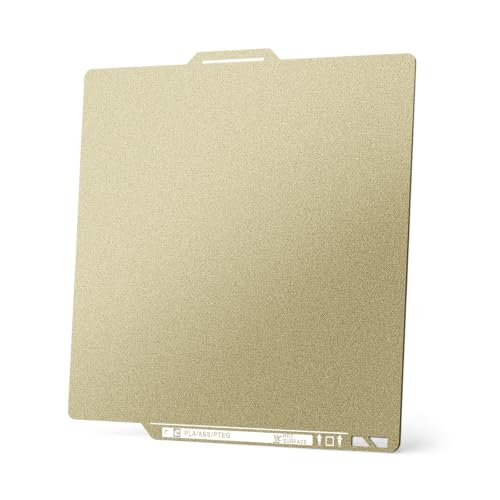
HENYCEE PEI Build Plate for Bambu Lab X2D/P2S/X1/X1C/X1E/P1P/P1S/A1
$16.99 Check pricePrices change often


Common questions
What bed temperature for ASA?
About 100 C for the first layer, then 95 to 110 C for the rest of the print. Running the first layer slightly hotter helps it key into the plate, and dropping back afterwards reduces the chance of the lower part of a tall print softening and bulging, which is sometimes called elephant foot.
Do I need glue for ASA?
Yes, use glue stick. A thin even film is enough, and more is not better.
How do I set the Z offset?
Print a single layer patch, let it cool, peel it off and measure it with calipers. If you asked for 0.2 mm and measured 0.28 mm, lower the nozzle by 0.08 mm. Change the offset in small steps and confirm the direction on your machine first, because a few invert the sign and a large blind adjustment can gouge the plate.
Why did it stick last week and not now?
Plate contamination is the usual answer, and it builds up gradually so the failure seems sudden. Oils from handling parts transfer to the surface every time you touch it, and they repel plastic long before the plate looks dirty. Wash with warm water and dish soap, or wipe with isopropyl alcohol, and adhesion usually returns immediately.